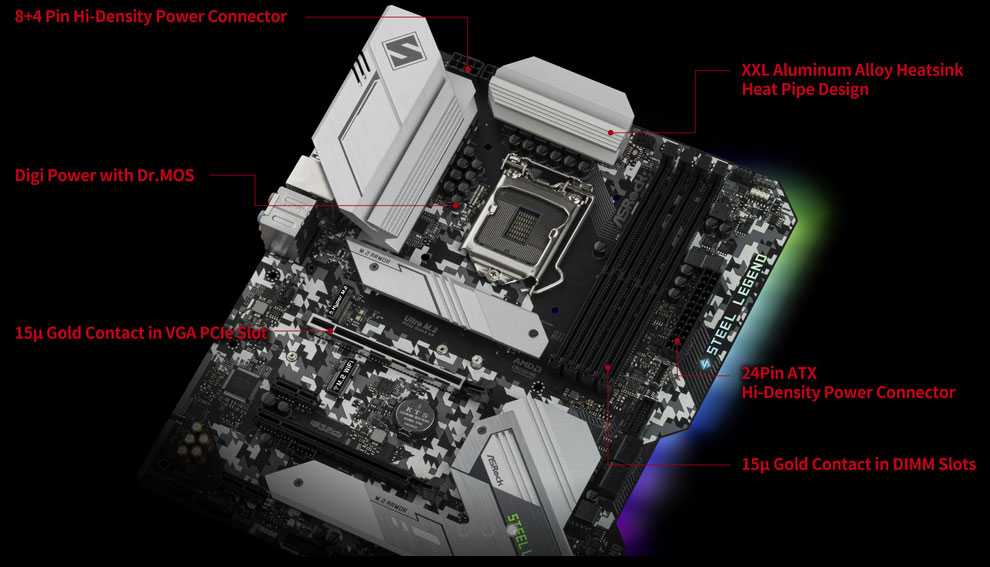
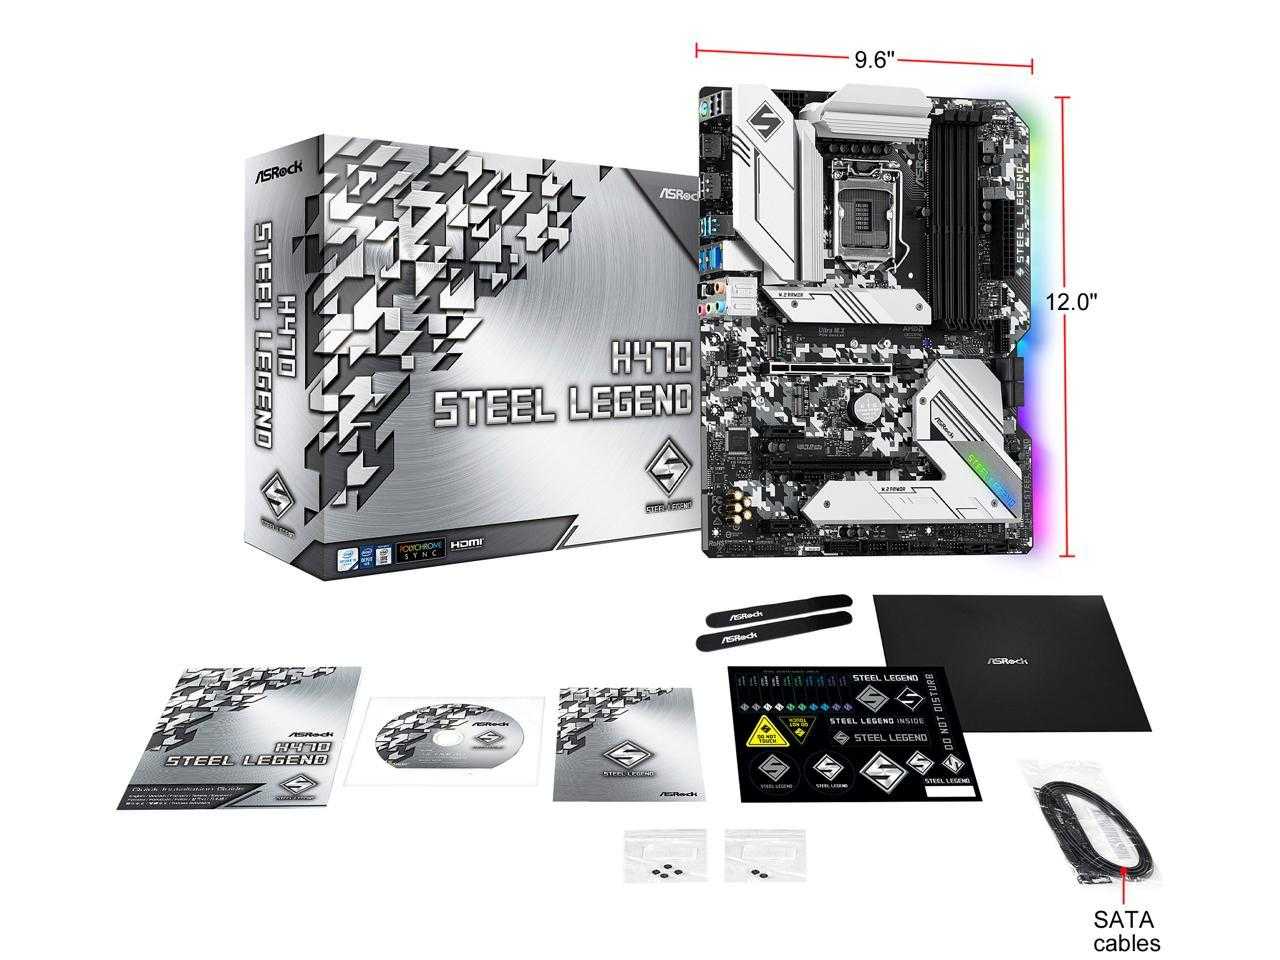
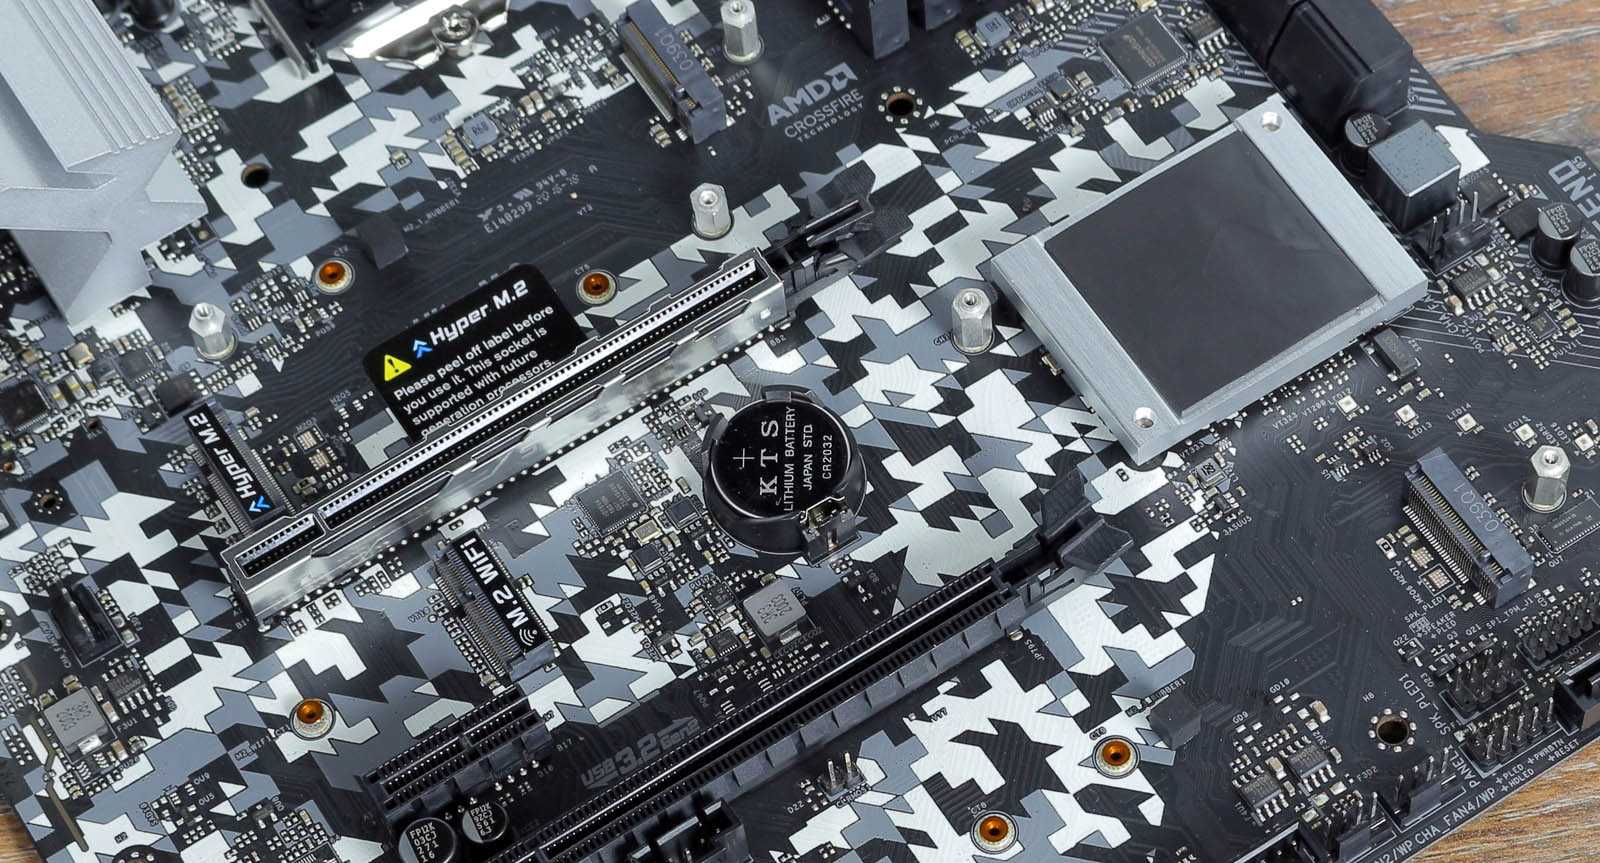
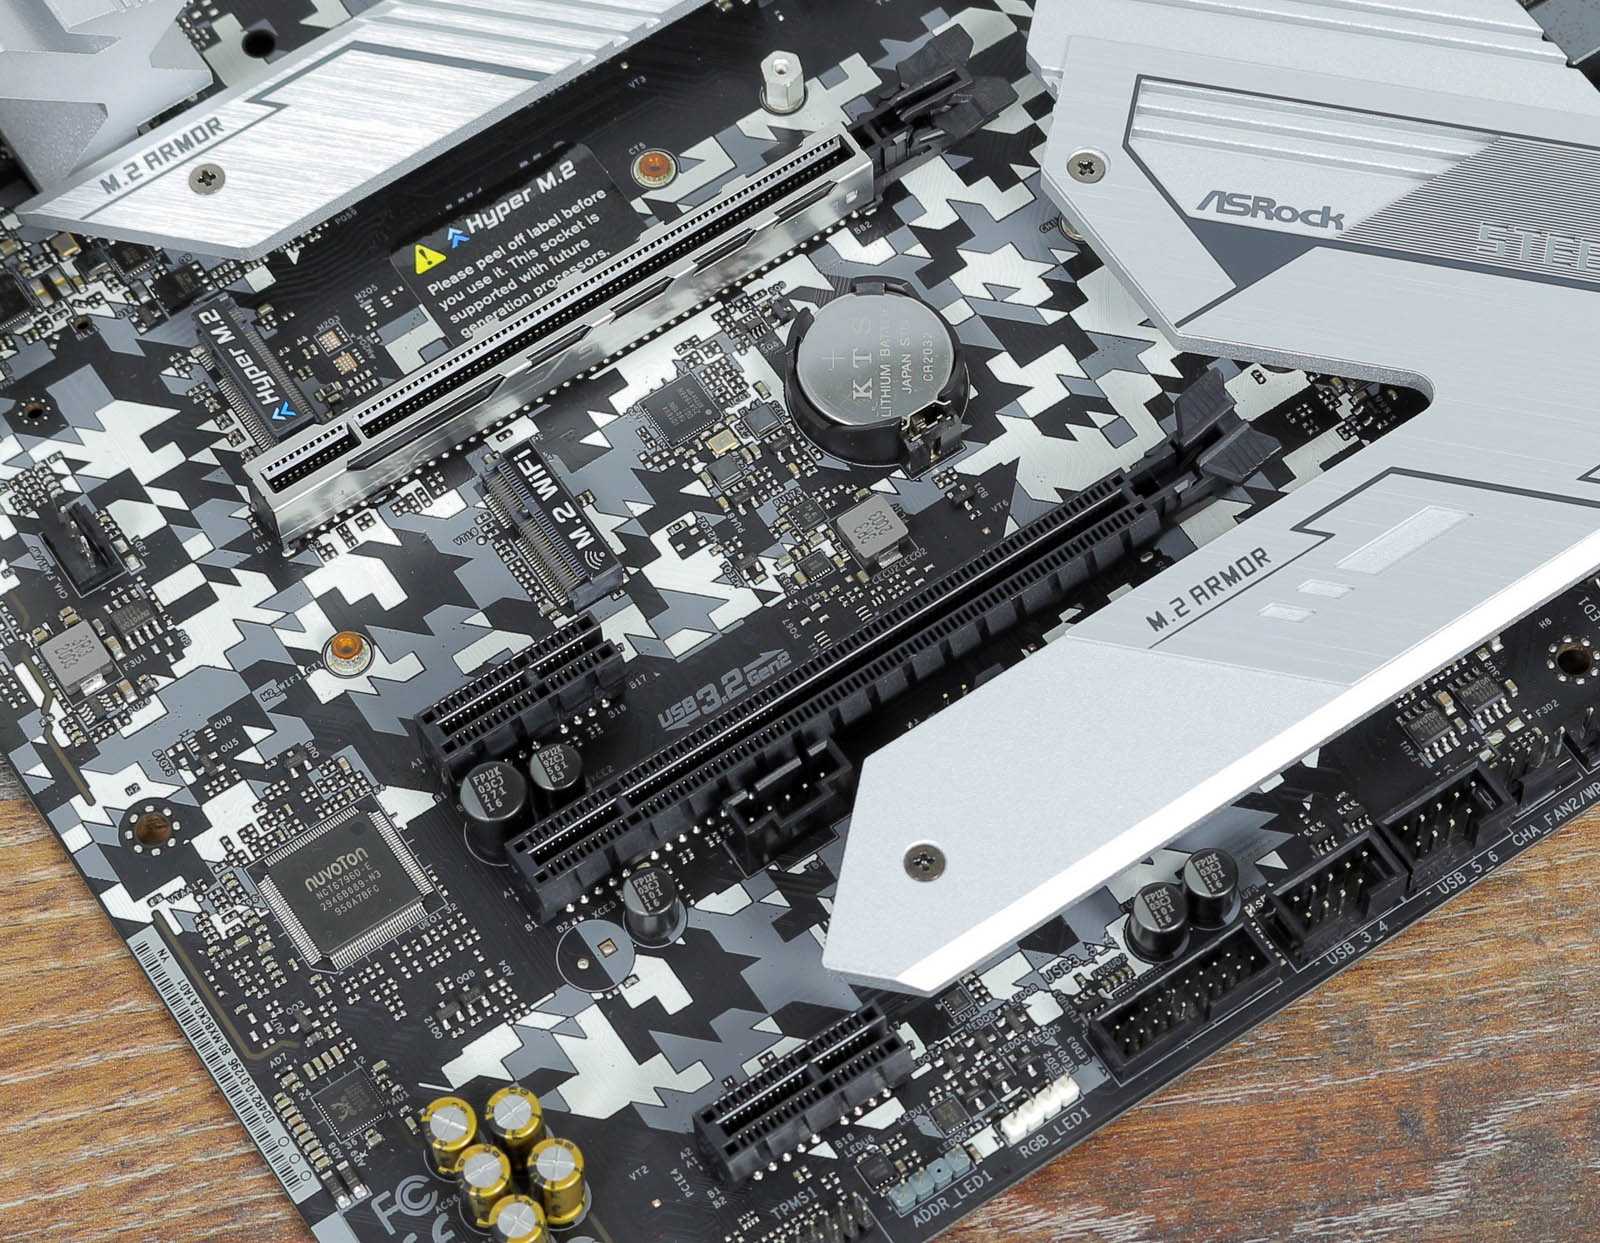
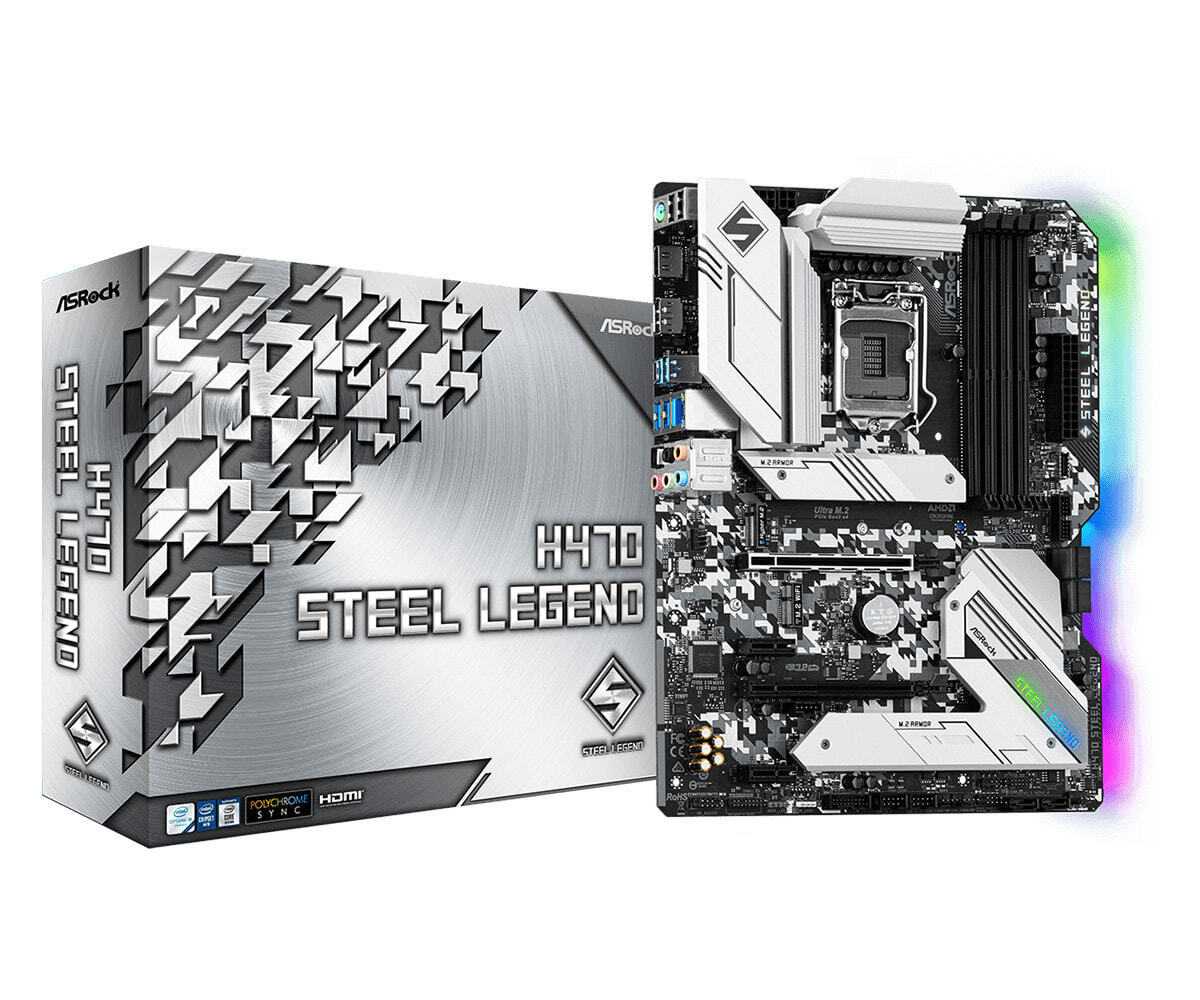
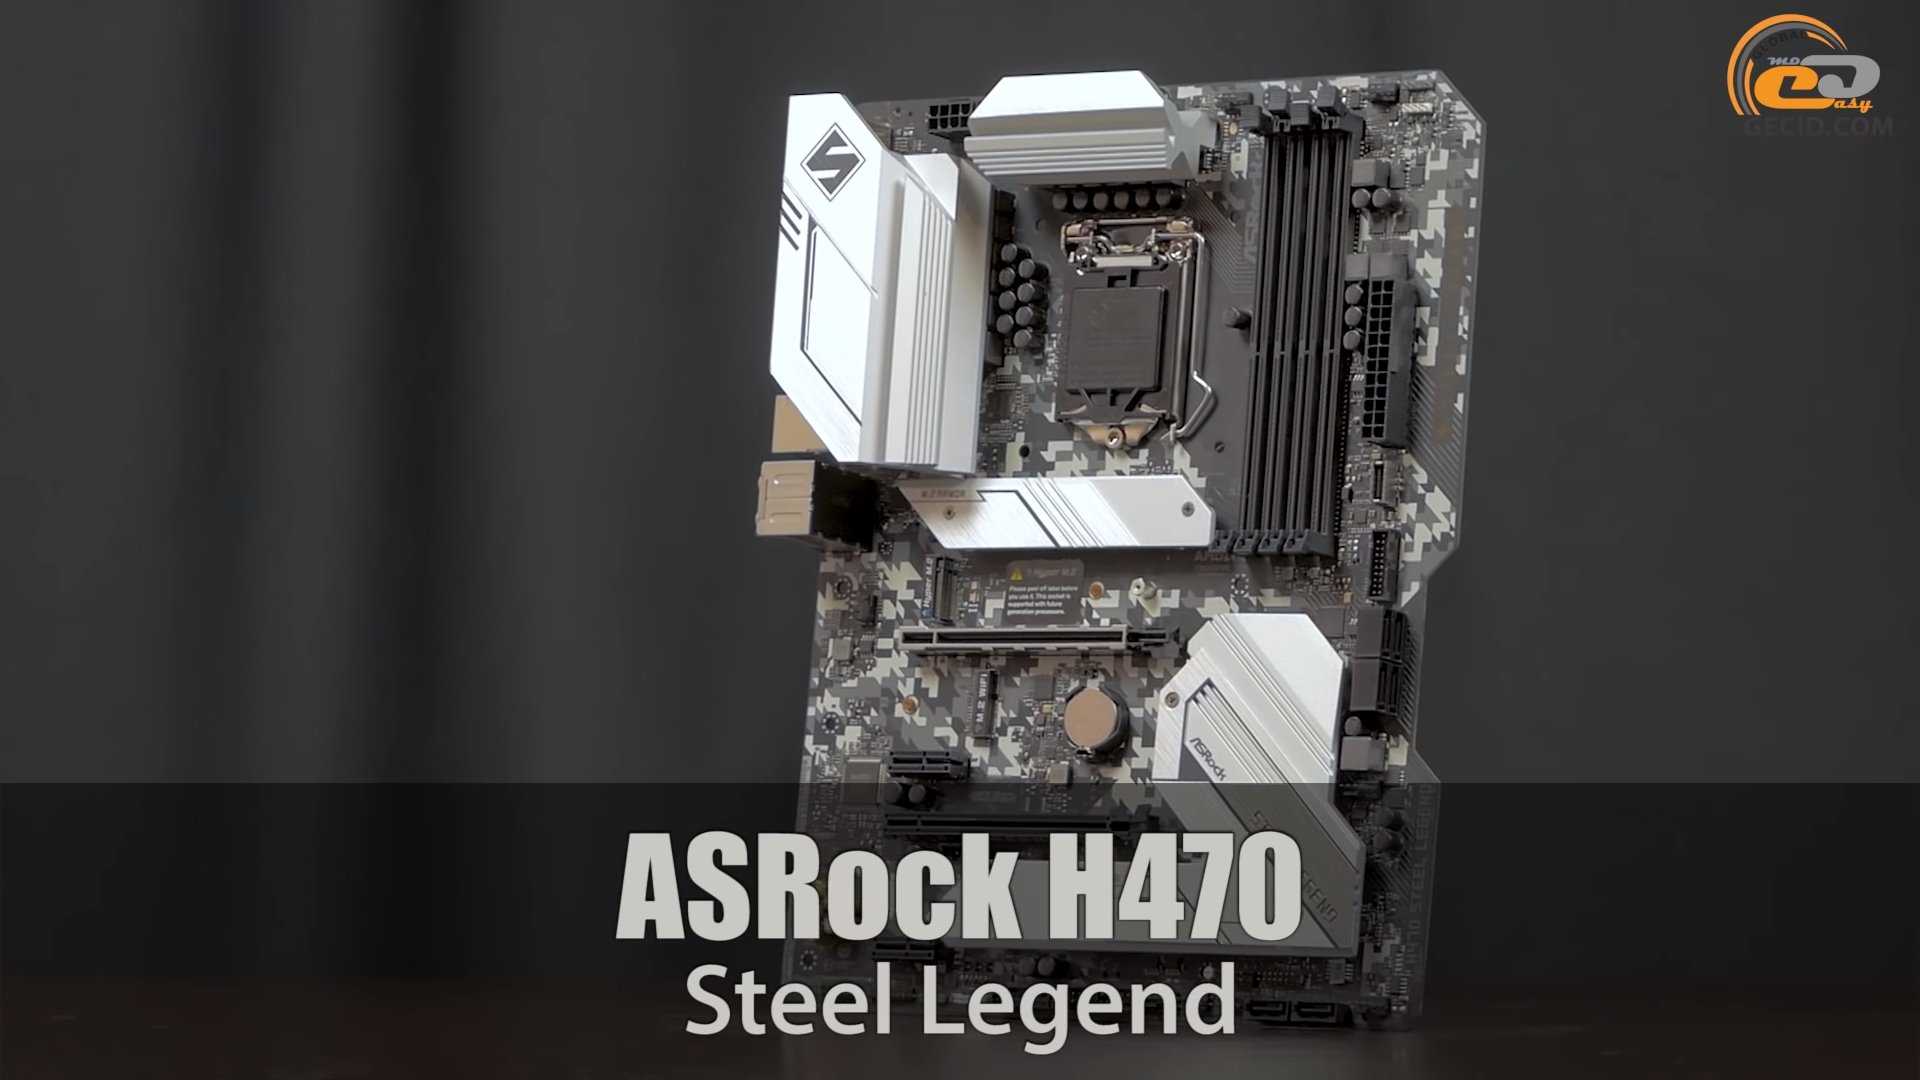
2.4 Expansion Slots (PCI Express Slots)
There are 4 PCI Express slots on the motherboard.
Before installing an expansion card, please make sure that the power supply is switched off or the power cord is unplugged. Please read the documentation of the expansion card and make necessary hardware settings for the card before you start the installation.
PCIe slots:
PCIE1 (PCIe 3.0 x16 slot) is used for PCI Express x16 lane width graphics cards. PCIE2 (PCIe 3.0 x1 slot) is used for PCI Express x1 lane width cards.
PCIE3 (PCIe 3.0 x16 slot) is used for PCI Express x4 lane width graphics cards. PCIE4 (PCIe 3.0 x1 slot) is used for PCI Express x1 lane width cards.
PCIe Slot Configurations
|
PCIE1 |
PCIE3 |
||
|
Single Graphics Card |
x16 |
N/A |
|
|
Two Graphics Cards in |
x16 |
x4 |
|
|
CrossFireXTM Mode |
|||
For a better thermal environment, please connect a chassis fan to the motherboard’s chassis fan connector (CHA_FAN1~5/WP) when using multiple graphics cards.
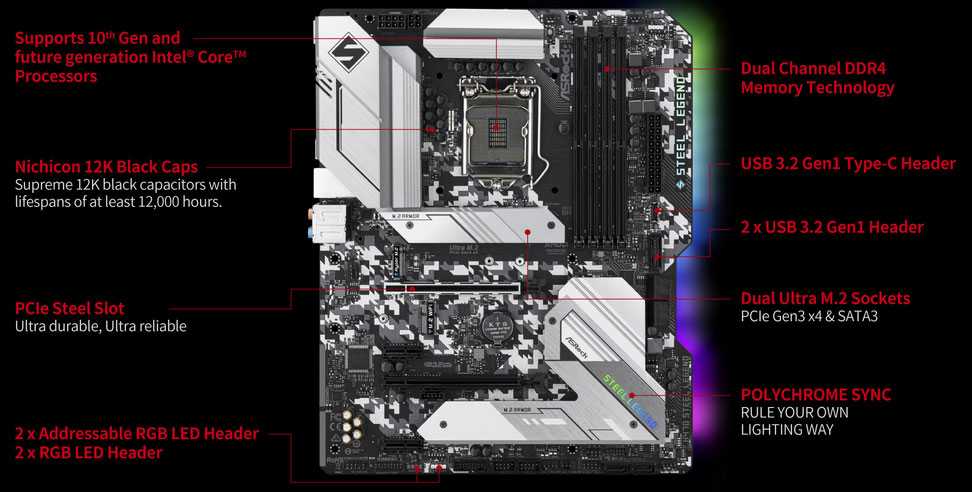
2.3 Installing Memory Modules (DIMM)
This motherboard provides four 288-pin DDR4 (Double Data Rate 4) DIMM slots, and supports Dual Channel Memory Technology.
1.For dual channel configuration, you always need to install identical (the same brand, speed, size and chip-type) DDR4 DIMM pairs.


2.It is unable to activate Dual Channel Memory Technology with only one or three memory module installed.
3.It is not allowed to install a DDR, DDR2 or DDR3 memory module into a DDR4 slot; otherwise, this motherboard and DIMM may be damaged.
Dual Channel Memory Configuration
|
Priority |
DDR4_A1 |
DDR4_A2 |
DDR4_B1 |
DDR4_B2 |
|
1 |
Populated |
Populated |
||
|
2 |
Populated |
Populated |
Populated |
Populated |
The DIMM only fits in one correct orientation. It will cause permanent damage to the motherboard and the DIMM if you force the DIMM into the slot at incorrect orientation.


2.5 Jumpers Setup
The illustration shows how jumpers are setup. When the jumper cap is placed on the pins, the jumper is “Short”. If no jumper cap is placed on the pins, the jumper is “Open”.
|
Clear CMOS Jumper |
Short: Clear CMOS |
|
(CLRMOS1) |
Open: Default |
|
(see p.7, No. 27) |
2-pin Jumper |
CLRMOS1 allows you to clear the data in CMOS. The data in CMOS includes system setup information such as system password, date, time, and system setup parameters. To clear and reset the system parameters to default setup, please turn off the computer and unplug the power cord, then use a jumper cap to short the pins on CLRMOS1 for 3 seconds. Please remember to remove the jumper cap after clearing the CMOS. If you need to clear the CMOS when you just finish updating the BIOS, you must boot up the system first, and then shut it down before you do the clear-CMOS action.